Ryobi 40v Battery Defective: How To Fix
The Ryobi power tools are one of the best in the market. However, like most other equipment, it is bound to encounter problems once in a while. Replacing a battery is one thing most owners avoid because it is quite costly. Fortunately, the Ryobi 40V battery is possible to fix by yourself. Following simple steps, and with safety precautions observed, you can have your Ryobi 40V supplying power to your devices again like normal.
The 40V Ryobi battery is a lithium-ion battery that is the core of its 40V system. The cordless battery system powers machineries such as your lawn mower and garden equipment. They come in a series of five different batteries with similar weight, charge time, and features but with varying capacity and prices. The five ranges include 1.5, 2.6, 3.0, 4.0, and 5.0 Ah. Unlike other Ryobi batteries, the 40V series has no fuel gauge mounted at the back.
Common Ryobi 40V Battery Problems (And How To Fix Each Of Them)
1. The Battery Is In Sleep Mode.
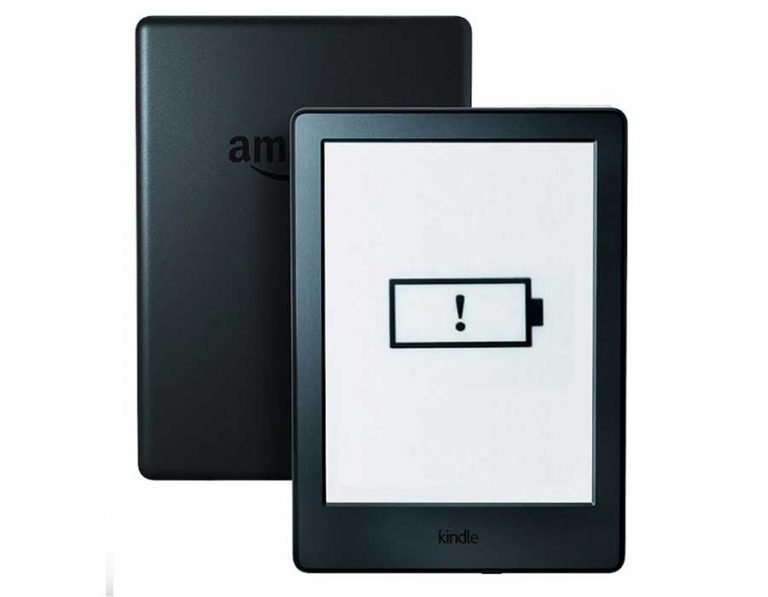
This is the most common reason for a Ryobi battery to fail, and this happens when the battery has discharged so much that it has been used till it is flat and left for a long time without charging. When the battery enters sleep mode, it is difficult to charge it, as the charger cannot provide enough power to bring the battery back to life. When you try to charge the battery, the charger will flash a red and green light. This problem can be fixed, so you do not need to replace the battery.
The charger reacts this way because it cannot determine if the battery is healthy and would rather not charge but gives the warning flashes instead. Also, the Ryobi chargers do not have a boost that revives a battery that has entered sleep mode.
How to fix
There are three ways to fix this;
- Micro charges
- Jump starting
- DC power supply
Micro charges
This is the easiest and safest method to wake up a sleeping battery. However, this method also requires time, so you must be patient. This method works because, with each short charge, the battery gets small bursts of power before the charger detects it is in sleep mode. Repeating the process makes the battery get small amounts of charge, increasing as you repeat the process. The small amount of charge accumulates to a point where the charger can resume normal charging.
Here are the steps to follow;
- Connect your battery to a power source
- Put the battery in the charger until the green indicator light goes solid
- Right before the green and red lights start to flash, quickly remove the battery from the charger
- Insert the battery and repeat the previous steps until the green light flashes constantly. It might take up to 30 minutes before the green light flashes constantly.
Jump starting
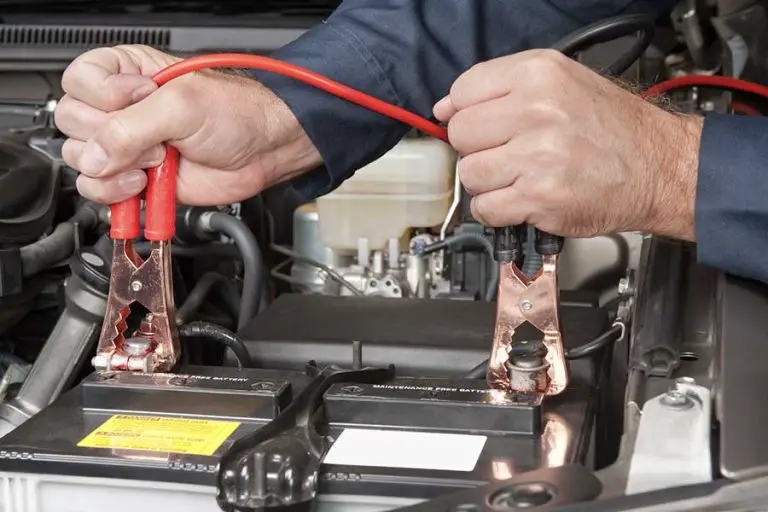
You can use another fully charged battery to jump-start the sleeping one. Ensure the second battery is healthy, fully charged, and of the same voltage as the one in sleep mode. Connect the terminals using wires in matching polarity, that is, positive to positive and negative to negative Leave them connected for a few minutes and then try charging the battery again. Doing this could take the battery out of sleep mode.
Use a DC power supply
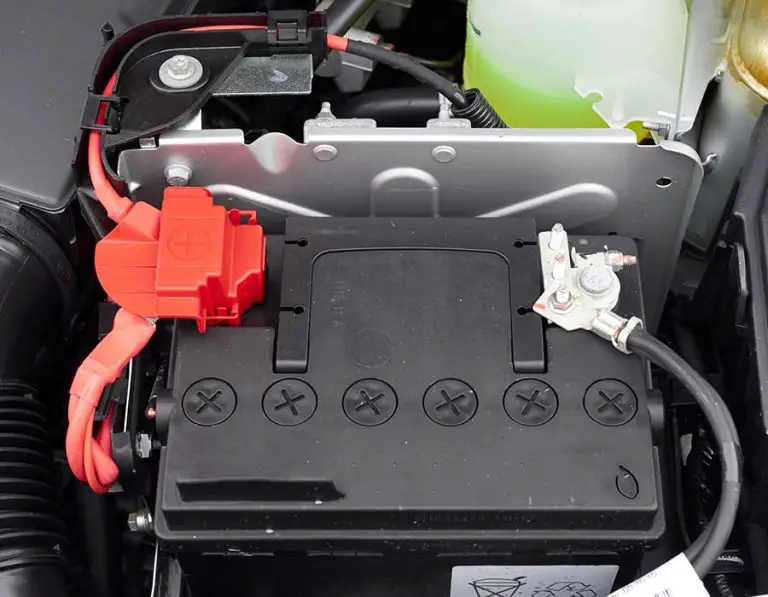
Ensure the DC power supply is set at the same voltage as your battery. Connect the positive output to the positive terminal of your battery and the negative output to the battery’s negative terminal. Leave it connected for a while; this should take it out of sleep mode and allow the battery to charge.
2. Charging Temperature
Recent battery models like the lithium-ion types work at a narrow temperature range. Usually, lithium-ion batteries charge at temperatures between zero to 45 degrees. If you are having issues with your Ryobi battery, check if it is too hot or cold.
If you store your battery in a very cold area, take it out to a warmer environment to warm up a bit, then try charging it. On the other hand, if the battery has been in heat for a while, you can keep it in the fridge or a cooler place for a while and try charging it up afterward.
3. Corroded Terminals
The Ryobi battery charger could detect the battery as faulty if the terminals are corroded. Corrosion in batteries causes a build-up around the terminals, which can insulate the conductive parts. Rusting around the terminals impedes contact between the wires.
How to fix:
You can get rid of the rust using sandpaper or with a wire brush and alcohol-soaked wipe.
Some batteries have terminals in a position that is not easy to reach. You can use a longer tool to scrape off the rust.
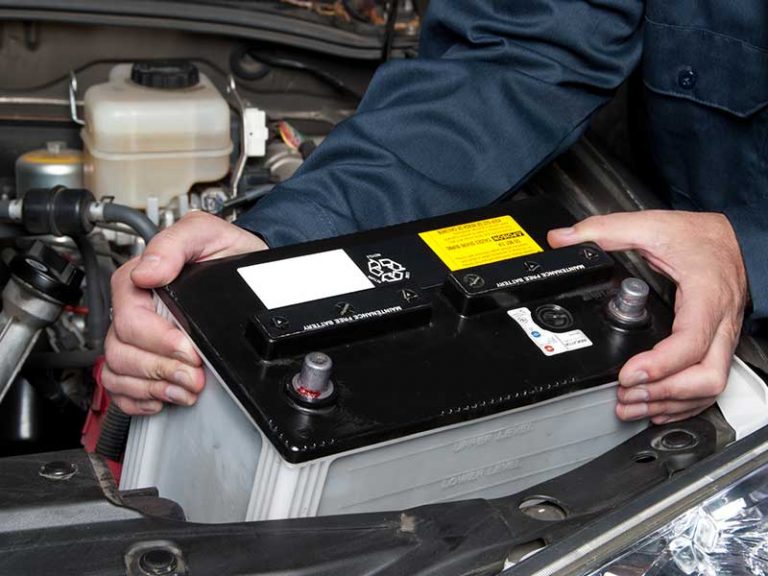
4. Worn Out Battery
The lifespan of a Ryobi 40v battery is about 3 to 5 years, that is, between 300 and 500 charge cycles. If your battery has stopped working or retaining charge and lasted for over four years, it might be a sign that it is old and needs to be replaced. The solution to do this is to get a new Ryobi 40V battery pack.
What If The Battery Still Does Not Work
If, after applying the recommended steps, the Ryobi battery still does not respond, it can be a result of the following;
- A faulty battery
- A faulty charger
What to do
To confirm both or any of the issues, take your battery to a Ryobi store or a local auto shop selling Ryobi 40V batteries to try one of their chargers. If the other charger works just fine, you likely have a bad charger and need to replace it.
If the charger you have did not work, and neither did the charger from the store, it is best to replace your battery altogether.
How Do Lithium-Ion Batteries Work?
Ryobi 40v batteries are lithium-ion batteries. Lithium-ion batteries are very common and popularly used in automobiles, cell phones, and other electronic devices. The components that make up a lithium-ion battery include;
- The electrodes: these are the two ends of the battery which is the anode, which is made of carbon and stores lithium, and the cathode, which is made from a metal oxide and stores lithium
- The separator: controls the flow of negative and positive ions within the battery
- The electrolyte is the liquid in which the electrodes are immersed. It can carry charges between the anode and cathode.
- The casing: the casing which holds the cells is more than just a battery cover. It also has components that make it up, such as the; temperature sensor, which monitors the battery temperature, and the voltage converter and regulator circuit keeping the voltage and current at safe levels. There’s also the euro connector, cell tap, and battery monitoring system, which monitors the battery generally and ensures the user’s safety.
How it works
Lithium-ion batteries work by the migration of charges between the anode and cathode. When the battery is plugged into a device, positively charged ios move from the anode to the cathode, making the cathode more positively charged than the anode and, as a result, pulls more negative charge to the cathode.
Since lithium-ion batteries are rechargeable, the charging process is similar to the discharging process but reverse.
FAQs
What is a charge cycle?
This is the period between a full charge, complete discharge, and another full charge.
Is it safe to leave a Ryobi lithium-ion battery on the charger?
It is not safe to overcharge the battery to prevent damage. After using the battery, it is best to recharge until it is full. Make sure to store in an area that is not too hot or cold after charging.
What is the appropriate temperature to store a Ryobi 40V battery?
Standard room temperature is the recommended temperature to store your Ryobi battery. Anywhere too cold or too hot can lead to defectiveness or problems holding charge.
What is the warranty period for Ryobi power tools?
The warranty on Ryobi power tools is three years. Within that time, you can return or repair the battery; so far, it is within the warranty terms.
How do I claim the Ryobi warranty?
To claim the warranty, you need proof of purchase of the item, such as a receipt. However, your warranty claim can be invalid due to careless usage, mishandling, damage from weather or bad storage, and the like.
Can I repair my Ryobi battery at Home Depot?
Yes. Find a home depot near you, along with your receipt. Home depot can collect your battery for repairs and warranty claims. Before claiming a warranty, it is crucial to have registered your purchase on the Ryobi website.
What does overcharging do to the Ryobi battery?
Overcharging is dangerous for your battery as it can reduce its lifespan. Overcharging “cooks” the battery and renders it useless in the long run. Once it is full, disconnect and store at room temperature.