How to Fix a Ryobi Battery That Won’t Charge
Ryobi’s battery is made up of several small batteries interconnected in series. Having just one malfunction can render the whole battery pack useless. The Ryobi iLithium batteries, like other lithium-ion batteries, have been known to have a number of problems. We can use a multimeter to check each battery. It is possible that Ryobi batteries won’t charge because they have been allowed to discharge or go flat for too long.
In order to determine the exact cause of the battery not charging, you should troubleshoot the battery. The following methods can be used to fix a Ryobi battery that won’t charge:
Identifying dead batteries
- If you want to determine whether the battery is dead, a voltmeter or multimeter is the go-to tool.
- Connect the positive and negative cables to the respective battery terminals with your device.
- Using this method will give you a reading on the battery, and if you see that it is within 0 to 11.9 volts, it is probably severely discharged.
- In this case, you will need to replace the Ryobi battery because there is no other way to fix the issue.

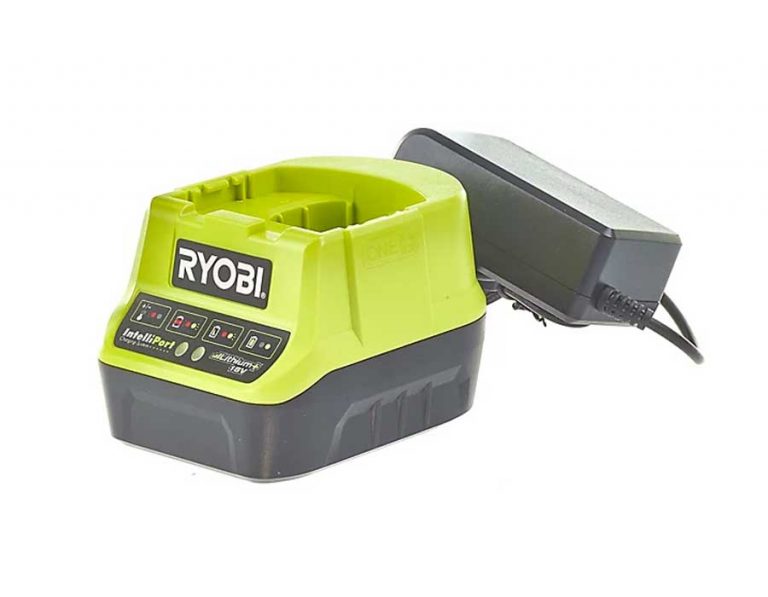
The Charger Components Must Be Good
- A good way to find out if the battery is not charging is to check each of the exterior components.
- Verify that the battery’s charging port, the charger’s contact points, and the cables and wires are in working order.
- Check each of these areas if any are damaged, as they may prevent the battery from receiving a charge. The ones that are faulty can be replaced.
- The problem can also be fixed by others if they have the know-how or by paying a professional to fix it for you.
- This type of issue will be more natural to resolve if the problems are caused by corrosion or obstructed contacts. The problem can be resolved by cleaning thoroughly.
Temperature Control for the Battery
- If the battery is not charging due to the temperature outside the specific range for charging the battery.
- Depending on its temperature, you can let it warm or keep it cool a little to try to normalize it.
- It is always best to let the battery cool completely before charging it if it becomes hot after long usage.
- A cool place is a prime place for the battery’s temperature to fall below the specified range, so if it has been stored in a cool place, it should be taken to a room with a normal temperature to bring it back to normal.
- In addition, you should remember that repeatedly exposing the battery to extreme temperatures can cause permanent damage.
Battery Reactivate After Sleep Mode
Ryobi batteries may enter a state of trance-like sleep whenever they are switched on. If it is not awake or has lost its ability to take in current, you can try to revive it in three ways. It must be noted, however, that waking a battery from its peaceful slumber has a few risks. The boosting method is not recommended by many experts.
Using a power supply
- In this method, the healthy battery is replaced by a direct current (DC) power source.
- This requires setting the output voltage of the device to the same value that the battery has.
- Afterward, connect the negative and positive outputs of the power supply to the battery’s terminals.
- When the power supply is connected to the battery, leave both for a while so that energy can be exchanged between them.
- Charge the battery after about a minute to see if the battery has been reactivated.
Using a small charger
- In this method, you will use your charger itself, so check that it is in good shape before proceeding.
- It is believed that the battery receives a small charge each time it connects to the charger before the charger realizes it is sleeping.
Awakening from Slumber
- This last method involves trying another battery that is fully charged and in good condition.
- To complete this task, you should ensure that the healthy battery has the same voltage rating as the dead battery.
- In the next step you will need to connect two wires to the cells, but you must make sure that the wires are connected to the correct terminals (positive to positive and negative to negative). Leave them connected for several minutes once they are connected.
- You can charge the battery again after a while to see if the battery sprung back to life and started charging again, and if the healthy cell is able to end the sleeping battery’s slumber.
Maintenance Tips for Ryobi Batteries
- Make sure your batteries are regularly checked. If you do not use them, they need charging every four to six weeks. This ensures that they remain in excellent condition.
- Once the batteries are charged, remove the charger from the batteries. It is possible that the charger does not work and the battery is overcharged.
- Make sure the room temperature is between 50°F and 100°F when you are charging your battery.
- It is a good idea to keep your batteries somewhere dry that is not too hot or too cold.
- It is normal for batteries to get hot when they are in use. Make sure they are cool before charging.
Conclusion
Batteries can be extremely frustrating when they malfunction. Typical reasons why Ryobi 18V batteries don’t charge are cells that have been over-discharged. When this happens, the battery enters a state known as sleep mode. Above we have explained about fixing the Ryobi battery that won’t charge. Fixing the battery that does not charge depends on what’s wrong. Ryobi batteries can be repaired if they become damaged. You will be able to fix Ryobi batteries and maintain them more easily if you follow the above procedure. If you have 36v batteries, you can also follow the above steps, but you will have to separate each bank of 12v before jump-starting them.